Welcome to my FREE HDR Tutorial
Whether you’re a brand new photographer wanting to learn how to make your photo’s stand out or your an advanced photographer wanting to add HDR to your toolkit, this tutorial is for you!
HDR has been one of the most talked about methods of photography in recent years, it is still a relatively new way to process photo’s. Some photographers will tell you that post processing your photo’s is a no-no… especially when it comes to HDR. I think that is because there is some horrible HDR out there… I made some horrible HDR in the beginning, and you will too! The good news is that as you practice your HDR processing, it will improve and people will have a hard time picking that your photo’s are HDR in the first place.
I will take you through the workflow I use for creating a HDR image. HDR stands for ‘High Dynamic Range’ and is how I take most of my photos. I am going to keep this as simple as I can (because, it really is simple) and in a matter of an hour or two I will help you to create fantastic HDR images!
Firstly, there is some software You Need…
HDR Software – I use Photomatix Pro, I have tried lots of HDR software and find Photomatix the best and unlike some software, it is very affordable. And if you want save some money use the Coupon code ‘ON3LEGS’ for a 15% discount, you can get it from here -> Photomatix DOWNLOAD
Secondly, there is some software that is just nice to have…
Topaz Adjust – When i’m in the final stages of cleaning up my image, what I call step 3, I will use Topaz Adjust to really bring out the detail. it really is an awesome piece of software. You can get it from here -> Topaz Adjust DOWNLOAD – it is not absolutely necessary but I highly recommend it. If you can afford it get the full bundle, you’ll save money that way and they have some other great software too, I use all of their plugins, Adjust is my favourite but they’re all good… by the way, the Topaz products are great to use on any image… not just HDR.
What is HDR?
Have you ever taken a photo of an amazing scene and then got home to view your images on your computer screen only to find that they look flat and dull? yeah… me too. And it didn’t matter what type of camera I used, sure, my more expensive DSLR produced a better result than my point and shoot… but the photo still did not look like what I saw… why?
The human eye is an amazing bit of gear, combined with your brain it can capture an extraordinary amount of light and colour information (dynamic range). Unfortunately, the sensor in your camera does not have the dynamic range of your eye, this is why when you take a photo, it quite often looks nothing like you remember. The higher the dynamic range of the scene, the harder it is for your camera to capture it.
HDR is a way of replicating what your eyes can do. Quite simply, to create a HDR image we’re taking several photo’s of the same scene, but at slightly different settings, we then combine them all together to get one image with all the light and colour info, just like our eyes. If you have looked through my photo’s, you may have noticed they have a slightly different look and feel to them, quite often people comment that they look like a painting. The reason for this is that an artist will paint a picture as they ‘see’ it… so they’re capturing all of the dynamic range of their eyes in the painting. So when you see a HDR image that has all of the dynamic range, you feel it looks like a painting.
It’s as easy as 1,2,3
There a 3 very simple steps to creating your HDR image, well 2 really, the 3rd step is kind of an optional one… (we will cover each step in more detail soon)
1. Capturing the image – There are a couple of ways of creating a HDR, you can use a single RAW file, or you can use multiple exposures. I prefer multiple exposures, it gives me a better result. The easiest way to get multiple exposures is to have a camera that has an ‘auto bracketing’ feature. I use a Nikon D800 for most of my photography, it has auto-bracketing, most DSLR’s will. Sometimes I use my Fuji X-E1 and I have to manually adjust the exposure, or just use a single RAW file.
2. creating your HDR – This is where you need HDR software like Photomatix – Use the Coupon code ‘ON3LEGS’ for a 15% discount, you can get it from here -> Photomatix DOWNLOAD – It is really quite simple and in the next couple of pages I am going to show you how I use Photomatix
3. Final cleanup in Photoshop – Technically, you don’t need photoshop to create the HDR image, Photomatix does all the HDR wizardry, however, if you’re picky like me, you will want to spend a little time in photoshop after you have made your HDR image cleaning up.
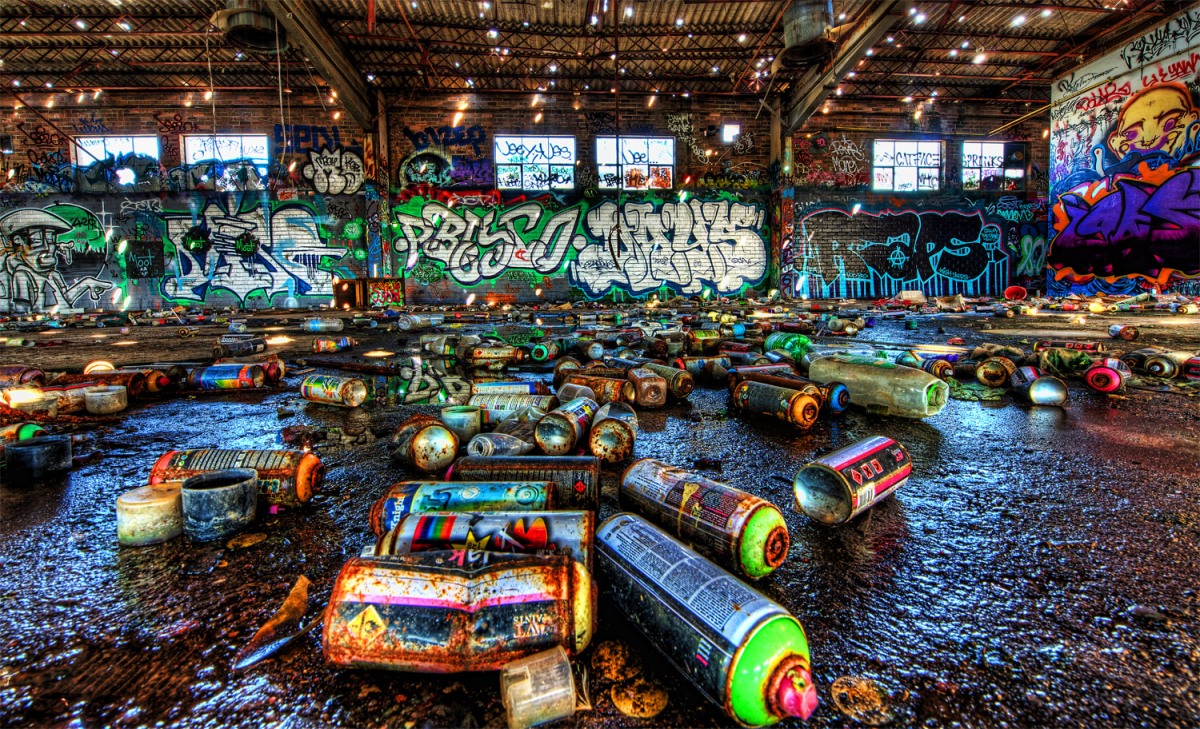
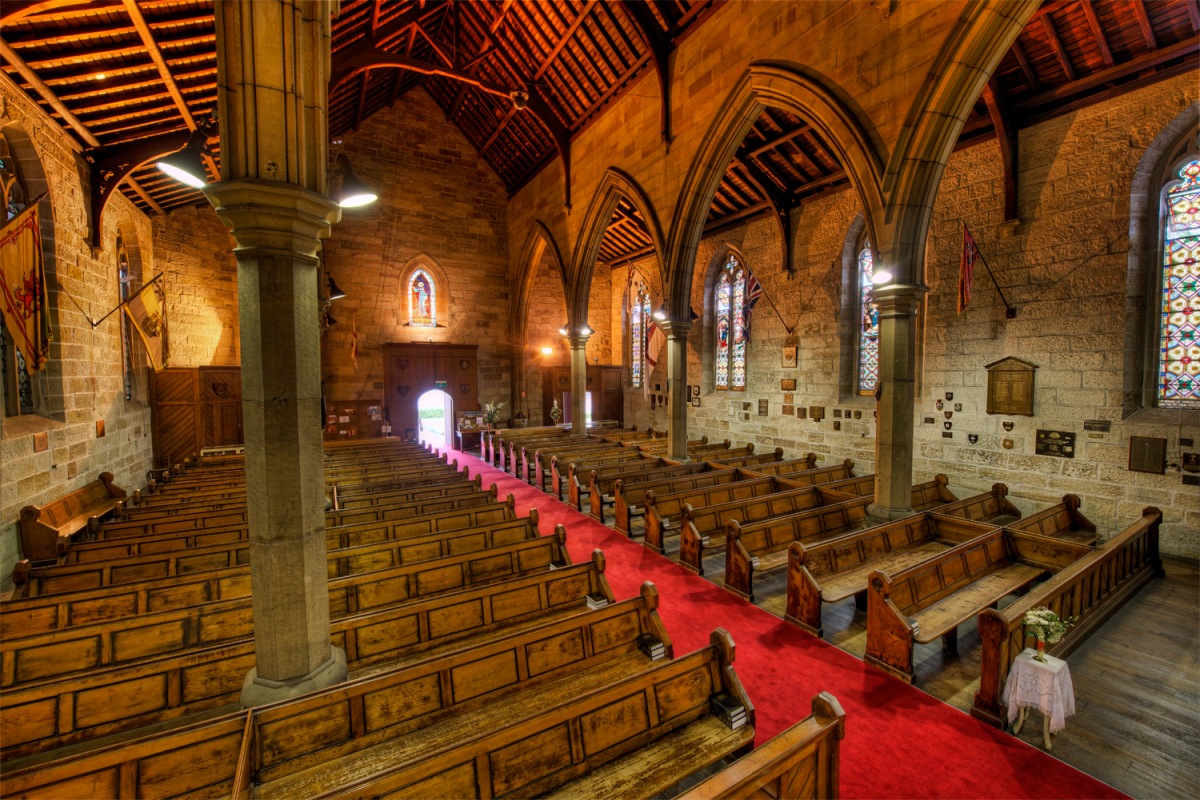
Here are a few HDR images of mine to give you an idea of what you can create…
.
Today we’re going to work on this photo…
Click here or on the photo below to get started!


Interesting article. Thanks for information about HDR!
Best regards maliOli